Some time ago we had the pleasure of putting together a proposal for a client who we know loves a good story. Engagement ended up not going ahead, but this got us thinking whether we can take a random piece of tech and write it up in a slightly more salesy way. Since we don’t usually work with AWS we thought it may be a good time to try AWS X-Ray.
3-2-1 Action!
It is hard to know what is happening around you when it’s dark…
You have built and deployed an app. You are pretty confident that everything is up and running and your team had gone through the core functionality a few times before the release. You take the phone, dial your head of marketing, and tell them to submit that promotional article on to HackerNews. You know this is going to attract heaps of attention, but you are ready to be the next big thing…
But how are you going to know if your users are happy with the service? Will you spot a performance bottleneck when it happens? Or you will allow the site to crash and ruin the first impression for everyone?
Do you have the tools to track how your users interact with the app: what features they use, what should you build next? Are your developers able to pick up the logs and exception traces and investigate issues as they arise? It is really hard to answer any of these questions without having visibility into your system. Application performance monitoring tools are expensive to build and hard to maintain.
Now to the technical part
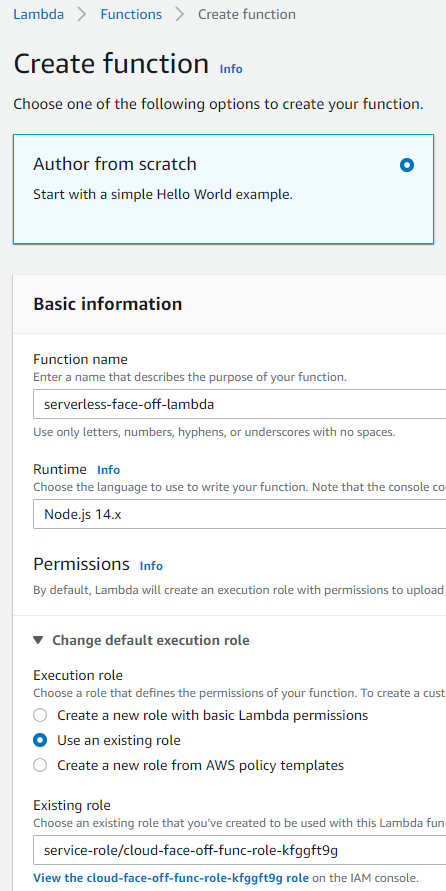
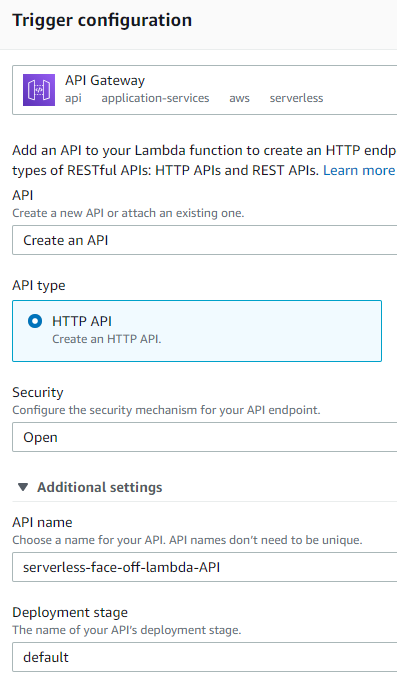
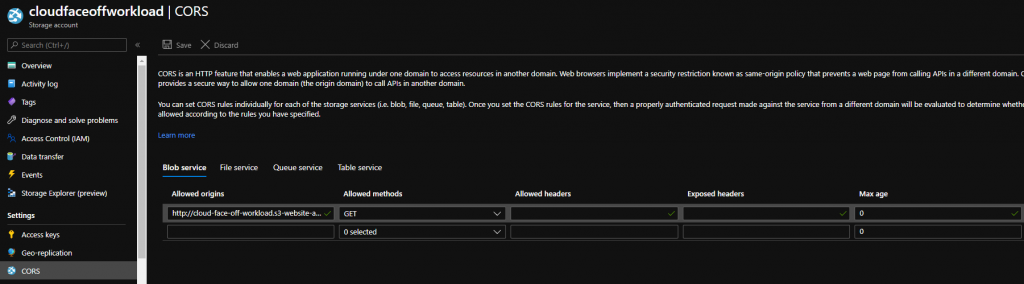
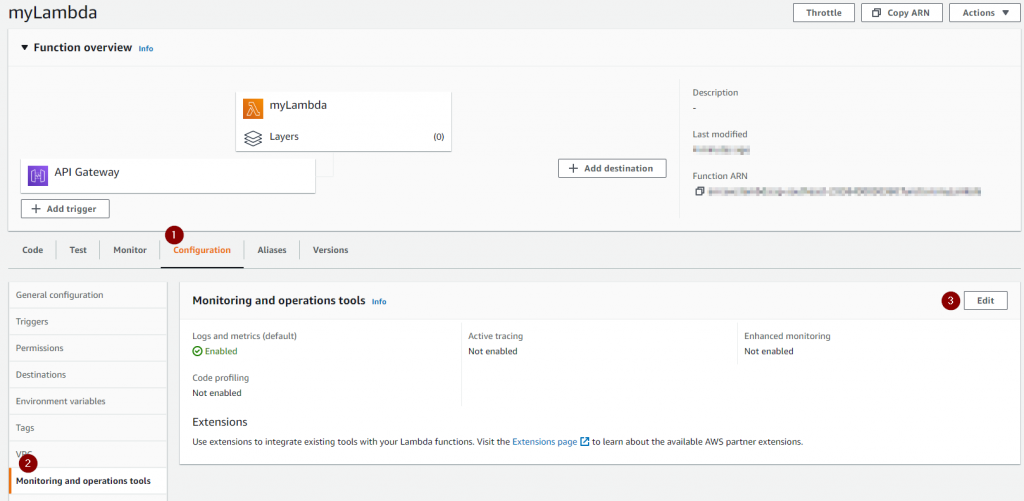
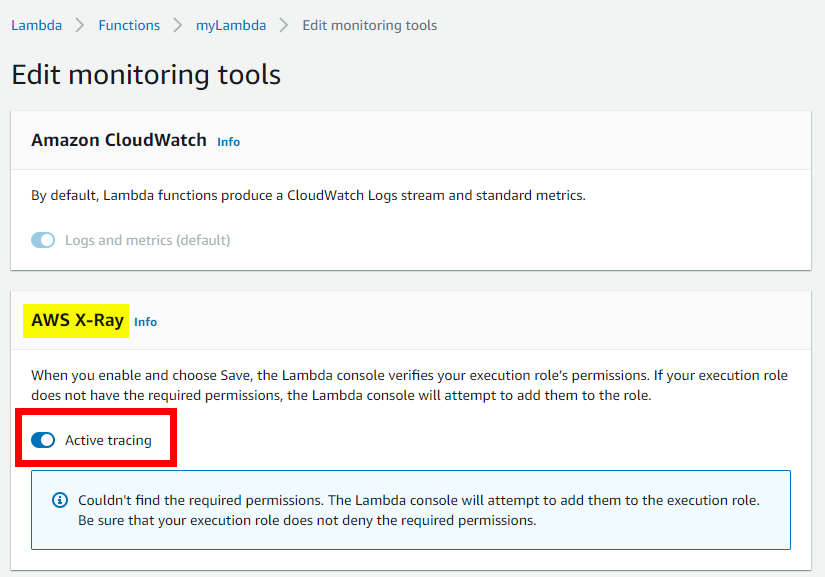
On the management portal we’ve got a lambda, sitting behind an API gateway so that we can call it via HTTP. X-Ray integrates with Lambda out of the box, so all we have to do is enable it.
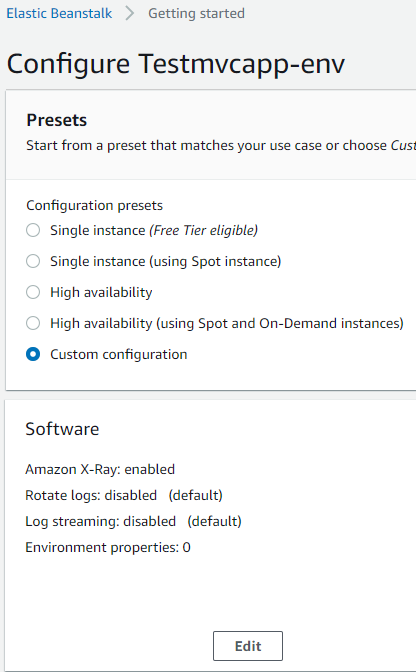
The customer facing application is a .NET MVC website hosted on Elastic Beanstalk. One advantage of doing it that way is that it also takes care of installing the X-Ray agent – we would need to do it ourselves otherwise.
Adding Xray support to .net projects is very straightforward. We’d just need to instrument our code a little bit: Firstly – We install official NuGet packages. Secondly we add a couple of lines of code to Startup class. If we also want to capture SQL that entity framework generates – we’d need to make sure we do not forget to add an interceptor here. And…that’s it – after deploying everything – we should be all set!
public class Startup
{
public Startup(IConfiguration configuration)
{
Configuration = configuration;
AWSXRayRecorder.InitializeInstance(Configuration);
AWSSDKHandler.RegisterXRayForAllServices();
AWSXRayRecorder.Instance.ContextMissingStrategy = ContextMissingStrategy.LOG_ERROR;
}
public void Configure(IApplicationBuilder app, IWebHostEnvironment env)
{
app.UseXRay("x-ray-test-app");
if (env.IsDevelopment())
{
app.UseDeveloperExceptionPage();
}
..........
}
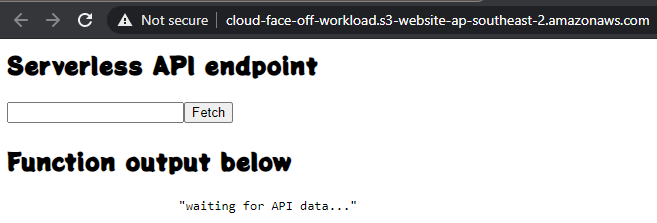
}Now we can go ahead, put on our customer hat and browse the website. We’ll land on index page and check out the menu. We’ll also call a secret endpoint that generates an exception. Having generated enough activity we should be able to see the application map!

As you can see, we’ve got all our components laid out in front of us. We’ve also got latencies of each link and amount of successful/failed requests.
Drilling down to traces allows us to see even more data on how users interact with our app. If there was a Database involved – we’d get to see SQL too. It doesn’t stop here – X-Ray exposes a set of APIs that allow developers build even more analysis and visualization apps.
To conclude
XRay is easy to use, it gives you insight to dive deep into how your system functions.
It is integrated with EC2, Container Service, Lambda and Beanstalk and lets the developers focus on what really matters – making your startup a success story.